
- SAP Community
- Products and Technology
- Technology
- Technology Blogs by SAP
- Replicate data from SuccessFactors to Commissions ...
Technology Blogs by SAP
Learn how to extend and personalize SAP applications. Follow the SAP technology blog for insights into SAP BTP, ABAP, SAP Analytics Cloud, SAP HANA, and more.
Turn on suggestions
Auto-suggest helps you quickly narrow down your search results by suggesting possible matches as you type.
Showing results for
Product and Topic Expert
Options
- Subscribe to RSS Feed
- Mark as New
- Mark as Read
- Bookmark
- Subscribe
- Printer Friendly Page
- Report Inappropriate Content
11-07-2022
4:09 PM
This blog post will give you an overview of how you can replicate information from SAP SuccessFactors to SAP Commissions using REST API. Sounds pretty basic right? How about we by leverage SAP's Conversational AI and also use Speech-To-Text to accomplish our goal? Sounds interesting? Let us get started.
I've broken down this blog post into 3 sections.
Ensure you have your BTP trial account setup and subscribe to SAP's Integration suite. Then you can start creating your iFlow. Please note, before you start creating the iFlow, ensure to setup the basic auth credentials for your SuccessFactors and Commissions tenant under Monitor>Integrations>Security Material.
Once done create and setup the iFlow as shown in the below images.
Set Participant Properties is a groovy script. Below is the script.
Deploy the iFlow once the setup is done. Once deployed copy the endpoint url of your iFlow, we will need this when we create our bot.
Next let us create a bot in SAP's CAI as shown in the below images. Create a new bot and give it any name you want. Now it is time to define our intent and entities.
Create a Free entity by the name Employeeid, under Entities tab.
Then go to the Intent tab. Create a new intent and give it a name - replicateemployee. Create intents as shown below.


You should see the UI5 page open with our bot showing 'Chat with me'. Click on it and you should see the chatbot open. You should also see a microphone icon.
Click on the microphone icon on your bot and say 'Replicate employee <employeeId >'.
Please note the employeeId here is the personIdExternal, which is the unique identifier for the PerPerson entity in SuccessFactors. So ensure you provide a valid personIdExternal that exists in SF but not in present in Commissions as a participant.
And there you have it, a voice enabled chatbot that replicates information from SuccessFactors to Commissions. Thanks for reading and happy learning!
You may also want try out IBM Watson's STT Service. Below are the references which helped me write this blog.
https://github.com/SAPConversationalAI/WebClientDevGuide/tree/main/examples/WebClientBridge
https://blogs.sap.com/2022/03/31/how-to-implement-the-new-speech-to-text-in-chatbots/
https://answers.sap.com/questions/13631383/speech-to-text-for-the-sap-cai-web-client-using.html
https://developers.sap.com/tutorials/conversational-ai-speech-2-text-simple.html

Requirements:
- Create an account in https://cai.tools.sap/ . This is to create our chatbot.
- SAP BTP trial account
- Access to a SAP SuccessFactors instance
- Access to SAP Commissions instance
- Code editor, Example:Visual Studio Code.
I've broken down this blog post into 3 sections.
- Create iFlow to replicate Employee Info from SuccessFactors to Commissions
- Create bot using SAP CAI to initiate replication process
- Create a simple UI5 app and embed chatbot with Speech-To-Text functionality.
1. Create iFlow to replicate Employee Info from SuccessFactors to Commissions.
Ensure you have your BTP trial account setup and subscribe to SAP's Integration suite. Then you can start creating your iFlow. Please note, before you start creating the iFlow, ensure to setup the basic auth credentials for your SuccessFactors and Commissions tenant under Monitor>Integrations>Security Material.
Once done create and setup the iFlow as shown in the below images.


Set Participant Properties is a groovy script. Below is the script.
import com.sap.gateway.ip.core.customdev.util.Message;

import java.util.HashMap;

import groovy.xml.MarkupBuilder ;

def Message processData(Message message) {

       def body = message.getBody(java.lang.String)as String;

       def parseXML = new XmlParser().parseText(body);


String name  ;

String email  ;


name = "${parseXML.PerPerson.personalInfoNav.PerPersonal.firstName.text().toString()}" ;

email = "${parseXML.PerPerson.emailNav.PerEmail.emailAddress.text().toString()}";


message.setProperty("name", name);

message.setProperty("email", email);


       return message;

}


Deploy the iFlow once the setup is done. Once deployed copy the endpoint url of your iFlow, we will need this when we create our bot.

2. Create bot using SAP CAI to initiate replication process
Next let us create a bot in SAP's CAI as shown in the below images. Create a new bot and give it any name you want. Now it is time to define our intent and entities.
Create a Free entity by the name Employeeid, under Entities tab.

Then go to the Intent tab. Create a new intent and give it a name - replicateemployee. Create intents as shown below.

Once the intents are created as shown above, tag the employeeid entity to the numeric values as shown below.
Now it is time to create our skill. Go to the Build tab and create a new skill. You can name it replicateemployee. Set up the skill as shown below.
Next step is to create a webclient AI channel. For this go to the Connect tab and under primary channel, expand SAP Conversational AI webclient and create a new webclient as shown below.
Do not change anything here, let the settings be default and click create.
Copy the Generated Web Client script for embedding.
3.Create a simple UI5 app and embed chatbot with Speech-To-Text functionality.
Next let us create a simple UI5 app and embed our chatbot in this app. Create a simple UI5 app by following any of the blogs or tutorials available over the internet.
Once you've created your app, we will need to create 3 additional files under our webapp>controller folder.
- webclient.js
- webclientBridge.js
- webclientBridgeImpl.js
The Speech-To-Text functionality in our case will be handled by the browser speech to text service .Ensure the controller file has the following setup as shown below before proceeding with creating the above mentioned files.
Add the below function to the controller file.
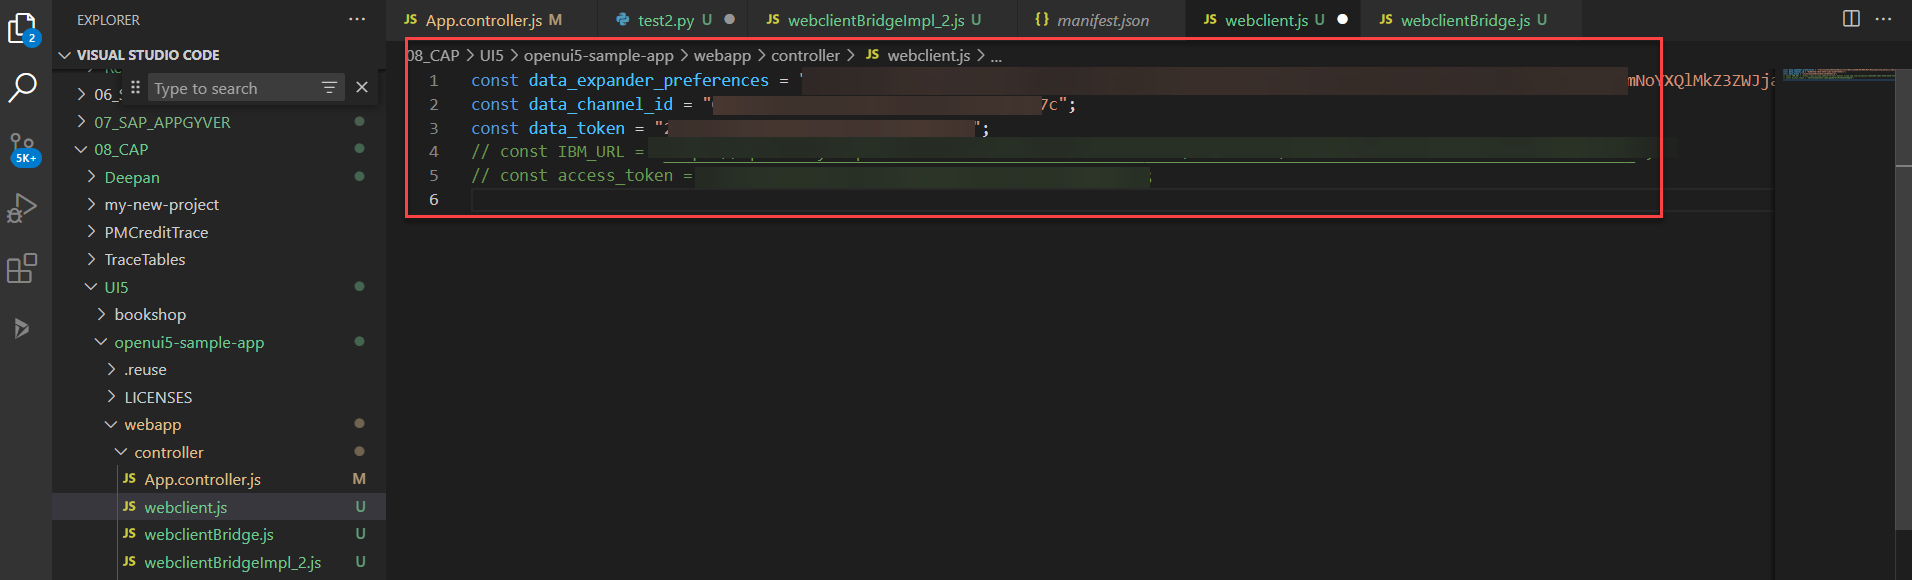
Below is how you will need to create your webclient.js file. This info can be found in the web client script.
Below is the code for webClientBridge.js
const webclientBridge = {


    callImplMethod: async (name, ...args) => {

        console.log(name)

        if (window.webclientBridgeImpl && window.webclientBridgeImpl[name]) {

            return window.webclientBridgeImpl[name](...args)

        }

    },

    // if this function returns an object, WebClient will enable the microphone button.

    sttGetConfig: async (...args) => {

        return webclientBridge.callImplMethod('sttGetConfig', ...args)

    },


    sttStartListening: async (...args) => {

        return webclientBridge.callImplMethod('sttStartListening', ...args)

    },


    sttStopListening: async (...args) => {

        return webclientBridge.callImplMethod('sttStopListening', ...args)

    },


    sttAbort: async (...args) => {

        return webclientBridge.callImplMethod('sttAbort', ...args)

    },


    // only called if useMediaRecorder = true in sttGetConfig

    sttOnFinalAudioData: async (...args) => {

        return webclientBridge.callImplMethod('sttOnFinalAudioData', ...args)

    },


    // only called if useMediaRecorder = true in sttGetConfig

    sttOnInterimAudioData: async (...args) => {

        // send interim blob to STT service

        return webclientBridge.callImplMethod('sttOnInterimAudioData', ...args)

    }

}


window.sapcai = {

    webclientBridge,

}
Below is the webClientBridgeImpl.js
// Handles working with browser speech recognition API

class SpeechToText {

    constructor(onFinalised, onEndEvent, onAnythingSaid) {

        var _this = this;


        var language = arguments.length > 3 && arguments[3] !== undefined ? arguments[3] : 'en-US';


        if (!('webkitSpeechRecognition' in window)) {

            throw new Error("This browser doesn't support speech recognition. Try Google Chrome.");

        }


        var SpeechRecognition = window.webkitSpeechRecognition;

        this.recognition = new SpeechRecognition(); // set interim results to be returned if a callback for it has been passed in


        this.recognition.interimResults = !!onAnythingSaid;

        this.recognition.lang = language;

        var finalTranscript = ''; // process both interim and finalised results


        this.recognition.onresult = function (event) {

            var interimTranscript = ''; // concatenate all the transcribed pieces together (SpeechRecognitionResult)


            for (var i = event.resultIndex; i < event.results.length; i += 1) {

                var transcriptionPiece = event.results[i][0].transcript; // check for a finalised transciption in the cloud


                if (event.results[i].isFinal) {

                    finalTranscript += transcriptionPiece;

                    onFinalised(finalTranscript);

                    finalTranscript = '';

                } else if (_this.recognition.interimResults) {

                    interimTranscript += transcriptionPiece;

                    onAnythingSaid(interimTranscript);

                }

            }

        };


        this.recognition.onend = function () {

            onEndEvent();

        };


        this.startListening = function () {

            this.recognition.start();

        };


        this.stopListening = function () {

            this.recognition.stop();

        };

    }

}


// Contains callbacks for when results are returned

class STTSpeechAPI {

    constructor(language = 'en-US') {

        this.stt = new SpeechToText(this.onFinalResult, this.onStop, this.onInterimResult, language)

    }


    startListening() {

        this.stt.startListening()

    }


    stopListening() {

        this.stt.stopListening()

    }


    abort() {

        this.stt.recognition.abort()

        this.stt.stopListening()

    }


    onFinalResult(text) {

        const m = {

            text,

            final: true,

        }

        window.sap.cai.webclient.onSTTResult(m)

    }


    onInterimResult(text) {

        const m = {

            text,

            final: false,

        }

        window.sap.cai.webclient.onSTTResult(m)

    }


    onStop() {

        const m = {

            text: '',

            final: true,

        }

        window.sap.cai.webclient.onSTTResult(m)

    }

}


// Contains methods SAP Conversational AI needs for handling

// chatbot UI events

let stt = null

const sttSpeech = {

    sttGetConfig: async () => {

         return {

            useMediaRecorder: false,

        }

    },


    sttStartListening: async (params) => {

        const [metadata] = params

        const { language, _ } = metadata


        stt = new STTSpeechAPI(language)

        stt.startListening()

    },


    sttStopListening: () => {

        stt.stopListening()

    },


    sttAbort: () => {

        stt.abort()

    },

}


window.webclientBridgeImpl = sttSpeech
Once the above setup is done, run the below command in your terminal
ui5 serve -o index.html
You should see the UI5 page open with our bot showing 'Chat with me'. Click on it and you should see the chatbot open. You should also see a microphone icon.

Click on the microphone icon on your bot and say 'Replicate employee <employeeId >'.
Please note the employeeId here is the personIdExternal, which is the unique identifier for the PerPerson entity in SuccessFactors. So ensure you provide a valid personIdExternal that exists in SF but not in present in Commissions as a participant.
And there you have it, a voice enabled chatbot that replicates information from SuccessFactors to Commissions. Thanks for reading and happy learning!
You may also want try out IBM Watson's STT Service. Below are the references which helped me write this blog.
https://github.com/SAPConversationalAI/WebClientDevGuide/tree/main/examples/WebClientBridge
https://blogs.sap.com/2022/03/31/how-to-implement-the-new-speech-to-text-in-chatbots/
https://answers.sap.com/questions/13631383/speech-to-text-for-the-sap-cai-web-client-using.html
https://developers.sap.com/tutorials/conversational-ai-speech-2-text-simple.html
- SAP Managed Tags:
- SAP Conversational AI,
- SAP Integration Suite,
- SAPUI5,
- SAP SuccessFactors Incentive Management
Labels:
You must be a registered user to add a comment. If you've already registered, sign in. Otherwise, register and sign in.
Labels in this area
-
ABAP CDS Views - CDC (Change Data Capture)
2 -
AI
1 -
Analyze Workload Data
1 -
BTP
1 -
Business and IT Integration
2 -
Business application stu
1 -
Business Technology Platform
1 -
Business Trends
1,658 -
Business Trends
105 -
CAP
1 -
cf
1 -
Cloud Foundry
1 -
Confluent
1 -
Customer COE Basics and Fundamentals
1 -
Customer COE Latest and Greatest
3 -
Customer Data Browser app
1 -
Data Analysis Tool
1 -
data migration
1 -
data transfer
1 -
Datasphere
2 -
Event Information
1,400 -
Event Information
69 -
Expert
1 -
Expert Insights
177 -
Expert Insights
331 -
General
1 -
Google cloud
1 -
Google Next'24
1 -
GraphQL
1 -
Kafka
1 -
Life at SAP
780 -
Life at SAP
13 -
Migrate your Data App
1 -
MTA
1 -
Network Performance Analysis
1 -
NodeJS
1 -
PDF
1 -
POC
1 -
Product Updates
4,575 -
Product Updates
375 -
Replication Flow
1 -
REST API
1 -
RisewithSAP
1 -
SAP BTP
1 -
SAP BTP Cloud Foundry
1 -
SAP Cloud ALM
1 -
SAP Cloud Application Programming Model
1 -
SAP Datasphere
2 -
SAP S4HANA Cloud
1 -
SAP S4HANA Migration Cockpit
1 -
Technology Updates
6,872 -
Technology Updates
461 -
Workload Fluctuations
1
Related Content
- Get Onboarded to the Embedded and Cross Products Analytics Suite Quality in Technology Blogs by SAP
- Die neusten SAP-Kurse im Schulungskatalog 2023 in Technology Blogs by SAP
- Develop Simple & Beautiful UI5 Integration Cards for SAP Commissions in Technology Blogs by SAP
- SAP IPS - List of All Properties available for User Sync in Technology Blogs by SAP
- After simulation, try out validation. Identity Provisioning closes the loop with a fresh new test job. in Technology Blogs by SAP
Top kudoed authors
| User | Count |
|---|---|
| 16 | |
| 12 | |
| 9 | |
| 7 | |
| 7 | |
| 6 | |
| 6 | |
| 5 | |
| 5 | |
| 5 |