Introduction
Hello everyone. In this blog post, I am going to explain about a new feature in the recorder - Auto capturing of screens.
In earlier versions of the recorder, when the screen changes in the application, the recorder shows a capture hint. This reminds the user to capture a screen. After that the user clicks on the camera icon to capture a screen. Now, the recorder is enhanced such that, as and when any screen changes are detected, it automatically initiates the capture and captures the screen. This enhances the user experience while using the recorder.
Prerequisites
The minimum version of Components required to use this feature
Desktop Agent: 2.0.30.45 / 3.8.45
Chrome / Edge Extension: 2.0.30.47
SDK: 1.30.45
Here are the steps to auto capture of a screen while recording:
Open SAP Build Process automation application.
Create a new task automation project in Cloud Studio. Once the project is created, a new tab will be opened.

Fig 1: New Project
Click on Create to start with a new Application. All the applications running in our system will be listed down. 
Fig 2: Create Application
Choose the application to record and click “Record” button. I am using SAP GUI for Windows application to explain this feature.

Fig 3: Choose Application to record
Once the recorder appears, press “Record” button and screen capture is initiated. The capture mode of the recorder is shown at the top right region of the recorder.
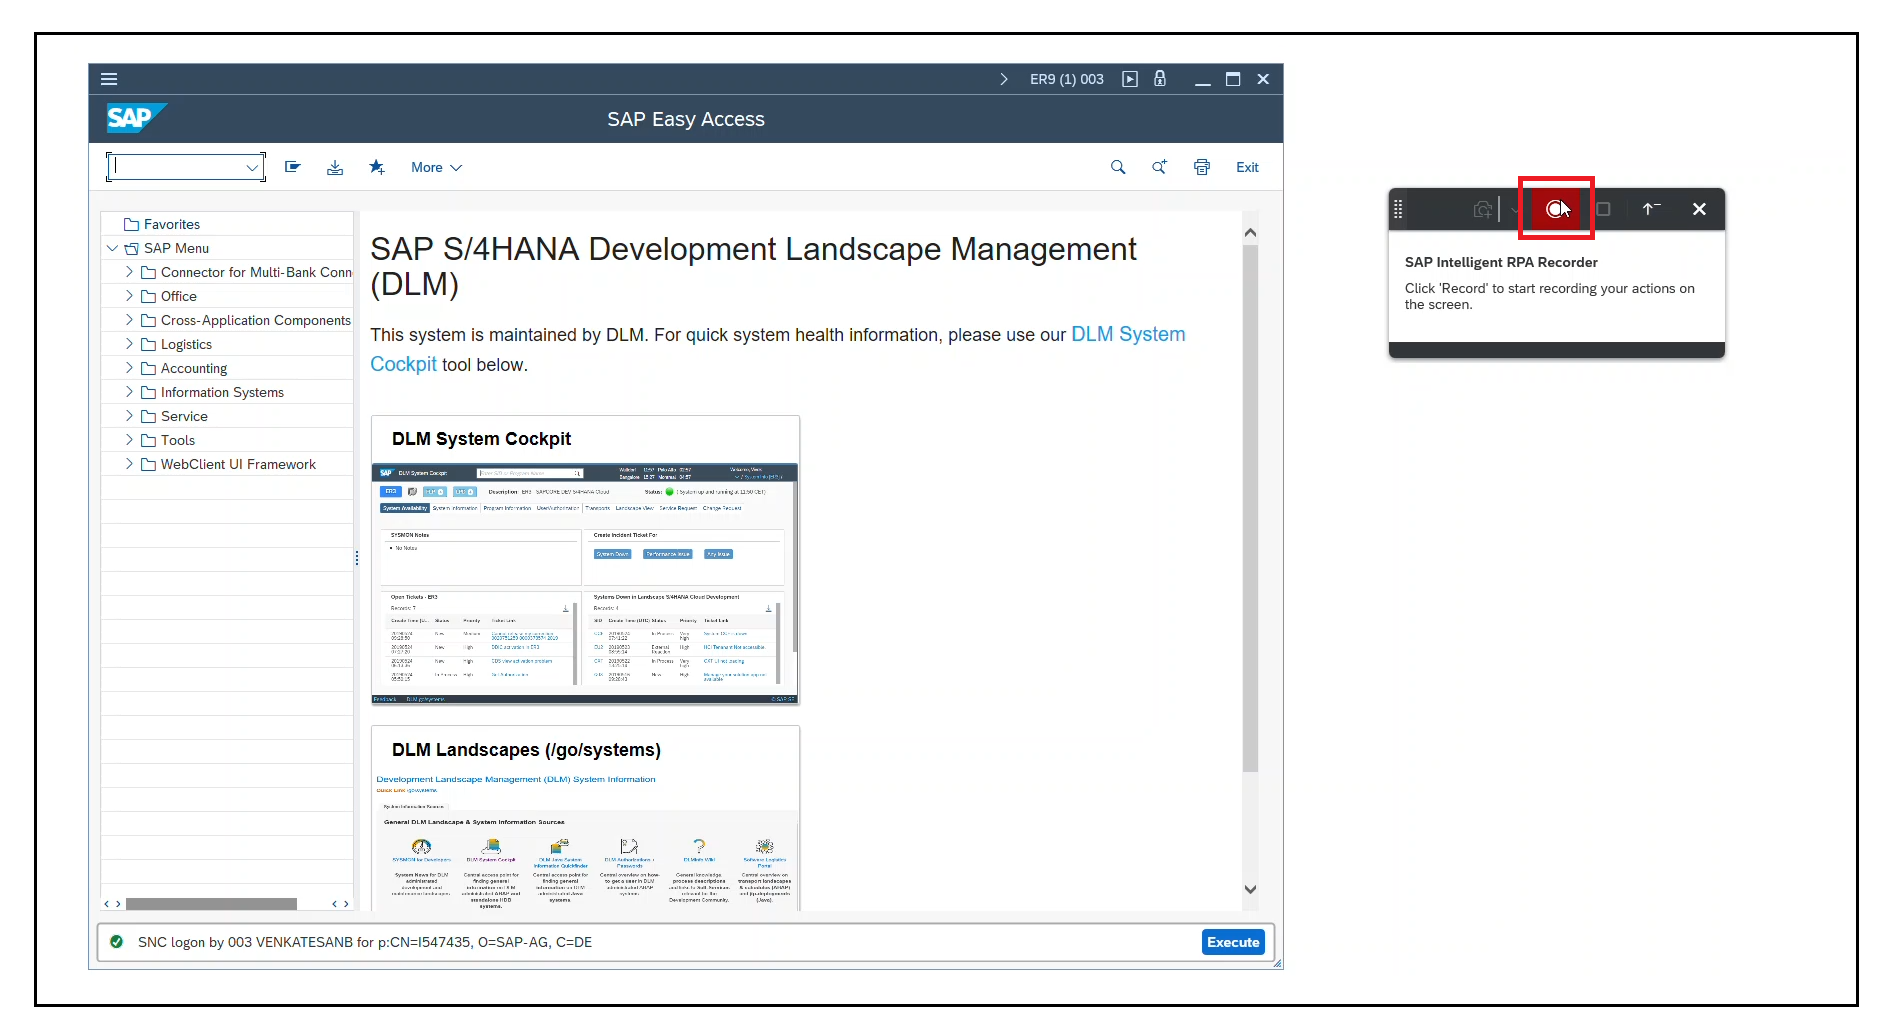
Fig 4: Start recording

Fig 5: Recorder's Capture mode
Now I will provide a transaction code “xd01” in the SAP Easy Page which will take me to the new screen. Once a new screen appears, the recorder detects the screen change and initiates the screen capture immediately.

Fig 6: Screen change detected
First, the recorder waits for the screen to load. Once the screen loads completely, the recorder starts capturing the screen data with green border around the application and capture progress in the recorder.

Fig 7: Capturing the screen
If the recorder encounters a screen which can be captured automatically, it changes its capture mode to automatic. Similarly, if the recorder encounters a screen which cannot be captured automatically, it changes its capture mode to manual. This behavior can be seen while recording web applications
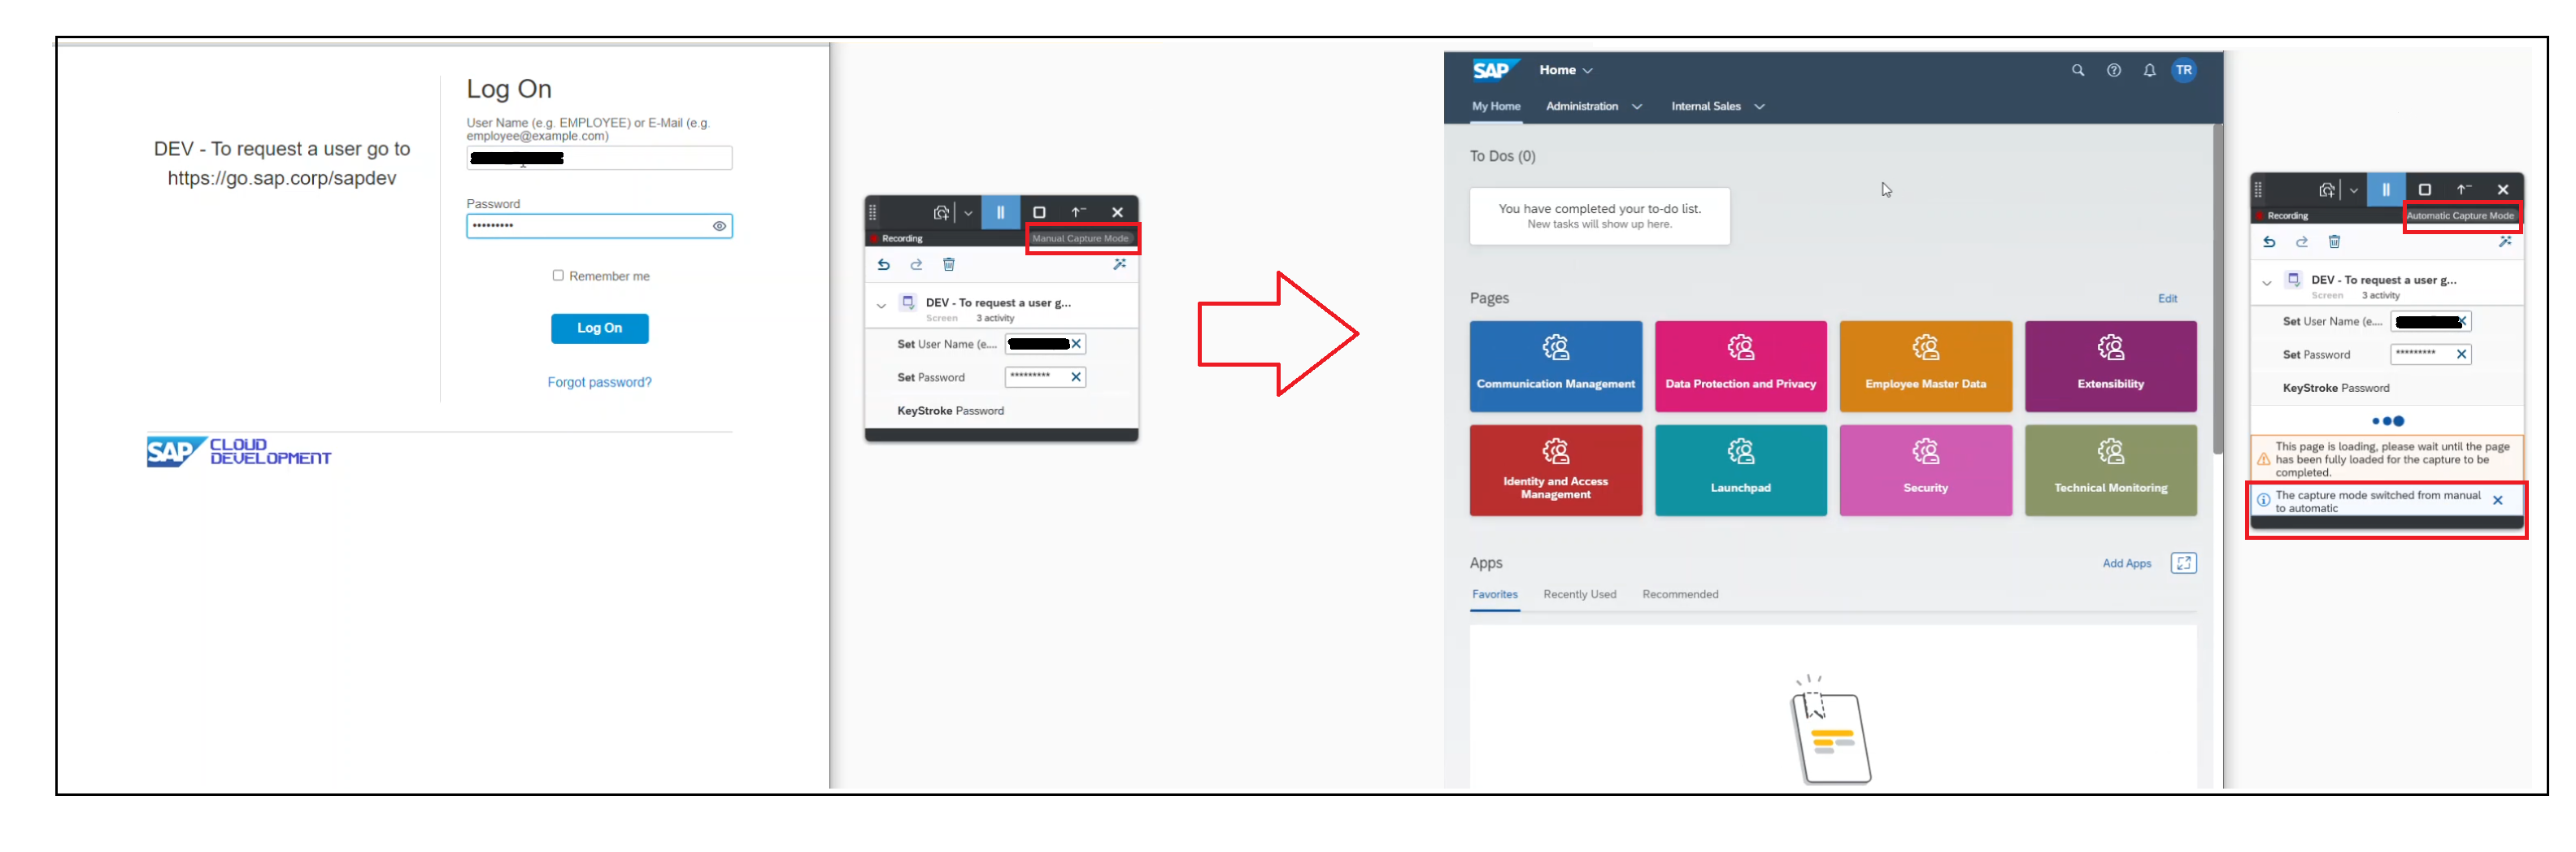
Fig 8: Automatic Capture mode change
Supported technologies and frameworks:
- Windows applications
- SAP Win GUI For Windows
- Web
- SAP Web GUI for HTML
- SAPUI5
- SuccessFactors
- ARIBA
- ByDesign
- Concur
User can change the capture mode at any point of time in the recorder which is present under the dropdown of the Capture button. 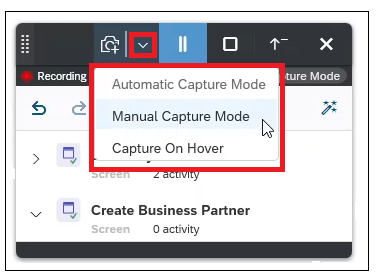
Fig 9: Change Capture mode
After performing all activities in the application, stop the recording and press “Export” button to export the recorded activities to cloud studio. Once the export to cloud studio is completed, the automation is ready for execution.

Fig 10: Automation Editor

Fig 11: Application Editor
Conclusion:
We have seen how auto capture can be used to capture screens automatically while recording the applications. Please refer below resources for more information on screen auto capturing capability.
Useful resources:
For more information on SAP Build Process Automation, please refer to the following sources:
