
- SAP Community
- Groups
- Interest Groups
- Open Source
- Blogs
- Storing transports in a registry: publish with TRM...
Open Source Blogs
Immerse yourself in SAP open source! Discover collaborative projects, insights into the latest technologies, and best practices in open source development.
Turn on suggestions
Auto-suggest helps you quickly narrow down your search results by suggesting possible matches as you type.
Showing results for
simonegaffurini
Participant
Options
- Subscribe to RSS Feed
- Mark as New
- Mark as Read
- Bookmark
- Subscribe
- Printer Friendly Page
- Report Inappropriate Content
01-09-2024
9:39 AM
Today we're going to see how packing and storing development objects into a registry (or publish) can be achieved using the open-source project TRM.
This is part 2 of 5 TRM related blog articles:
The setup is the same shown in the previous article.
Currently, trm-client has only been tested on Windows: support for other operating systems will be provided in later development stages.
The setup for both client and server side packages is explained in the documentation.
To sum up, the requirements are:
Once all the requirements are installed, run the command
and you should be able to use the TRM CLI.
TRM Cli can connect in three different ways depending on your scenario:
It's important to notice that TRM allows you to connect to any registry you want, and, being an open source project, you can read the official documentation if you want to implement your own private registry, where the required REST endpoints are explained in detail.
A full and in depth tutorial for this is available in the official documentation.
Let's start by creating a package on our development system and create some objects inside of it.
In this example, I created a package named ZGAFFU_TRM_PUBLISH, and a program named ZGAFFU_HELLOWORLD.
This package is now ready for its first release.
Open your CLI and execute the command
and replace PACKAGE_NAME with a name that suits your package, in this case @simonegaffurini/test-publish.
If you are already familiar with npm, you might recognize I am using a scope: this is basically a namespace, and is usually (although it depends on the registry implementation) required for private packages.
Now that the package is published, you can execute the install command or any of the others shown in the previous article.
Wanna see this in action?
Here’s a demo!
If you want to know more about TRM, check out the official documentation.
This is part 2 of 5 TRM related blog articles:
- Part 1: Introduction
- Part 2: Install your first package
- Part 3: Publish your first package
- Part 4: Dependencies
- Part 5: Setup a CI/CD pipeline with Github Actions
TRM Setup
The setup is the same shown in the previous article.
Currently, trm-client has only been tested on Windows: support for other operating systems will be provided in later development stages.
The setup for both client and server side packages is explained in the documentation.
To sum up, the requirements are:
- Node.Js
- SAP NW RFC SDK
- R3Trans
- abapGit (either standalone or developer version) on your system
Once all the requirements are installed, run the command
npm install trm-client -gand you should be able to use the TRM CLI.
Connecting to your development system
TRM Cli can connect in three different ways depending on your scenario:
- Alias: a file with the system connection configuration is saved with login data and the user is prompted the name given during the alias creation
- Direct connection: you pass the connection configuration as arguments to the commands that require a connection
- SAP GUI Connections: a list of all the connections saved in your local SAP GUI is showed and the user must pick a system from the list
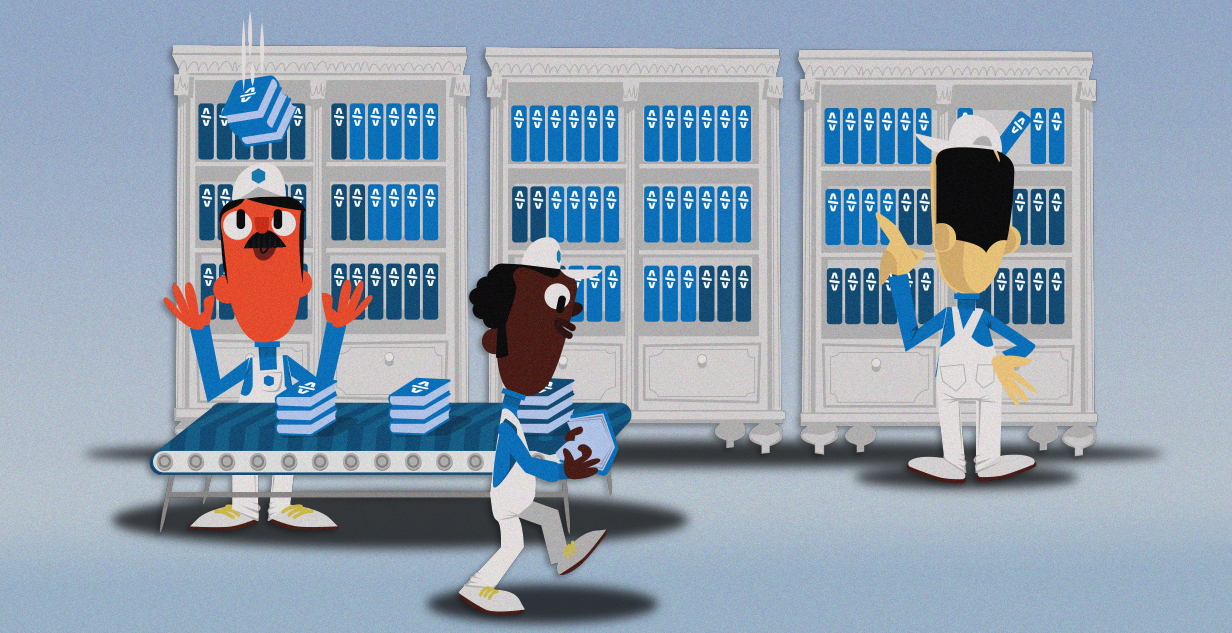
The registry
In the past articles, we saw that TRM relies on a registry, but what does this mean?
When a package is published, you are essentially packing all your developments into one file (a TRM artifact) and uploading it into a registry, where it is stored along with many other TRM packages.
Similar to the publish, the install will ask the registry for a certain package and download it locally, where it can then be imported into your system.
It's important to notice that TRM allows you to connect to any registry you want, and, being an open source project, you can read the official documentation if you want to implement your own private registry, where the required REST endpoints are explained in detail.
Publishing a package
A full and in depth tutorial for this is available in the official documentation.
Let's start by creating a package on our development system and create some objects inside of it.
In this example, I created a package named ZGAFFU_TRM_PUBLISH, and a program named ZGAFFU_HELLOWORLD.

This package is now ready for its first release.
Open your CLI and execute the command
trm publish {{PACKAGE_NAME}}and replace PACKAGE_NAME with a name that suits your package, in this case @simonegaffurini/test-publish.
If you are already familiar with npm, you might recognize I am using a scope: this is basically a namespace, and is usually (although it depends on the registry implementation) required for private packages.
You can name your package whatever you want, as long as it is unique within the registry, doesn't exceed the 42 characters limit and doesn't include any special characters (beside the ones used for scoping).
After executing the command, you'll be prompted with:
- System connection
- Connect to the development system where the package is generated.
- Package devclass (the term devclass is used to distinguish a package in SAP)
- Type the name of the newly created SAP custom package
- Transport request target
- TRM will pack all of the objects inside the package in one or more transport requests, that will be released. Here, you should pick the transport request target.
- Ideally, you should use a virtual system so that you can release the transports without any worries.
- Dependencies
- This topic will be explained in detail in the upcoming article; for now, just leave the field empty.
- Package visibility
- When publishing a package into a registry, its visibility could be either public or private, depending on your needs.
- Manifest
- Because it's the first publish, you'll be asked to provide some optional values in order to describe the package better. You can find out more about manifests here.
The package should now be published:

Now that the package is published, you can execute the install command or any of the others shown in the previous article.
Demo
Wanna see this in action?
Here’s a demo!

Conclusion
With this and the previous articles, we've seen how TRM uses SAP CTS APIs in order to
- publish
- Automatically include all development objects into transport requests
- Generate a single artifact with an embedded manifest
- Store packages into a registry
- install
- Download from the registry a specific version of a package
- Automatically import the necessary transports into the system
- list
- Index installed TRM packages in a system
Next blog post: Dependencies between packages (Part 4).
If you want to know more about TRM, check out the official documentation.
- SAP Managed Tags:
- ABAP Development,
- DevOps,
- Open Source
You must be a registered user to add a comment. If you've already registered, sign in. Otherwise, register and sign in.
Labels in this area
-
30-Day Warranty
1 -
CAP
1 -
Collaboration
1 -
Community Building
1 -
dependencies
1 -
Fiori
1 -
First Contribution
1 -
InnerSource
1 -
K8S
1 -
KUBERNETES
1 -
KYMA
1 -
ODATAV4
1 -
Praise Participants
1 -
Quality Control
1 -
Quarkus
1 -
REST
1 -
SAP
1 -
SAP Appreciate program
1 -
service
1 -
Software Development
1 -
SQLITE
1 -
trm
1